Easy Chocolate Easter Nests Recipe to Try

If you’re hunting for a charming, crowd-pleasing treat this spring, these Chocolate Easter Nests are an absolute delight to make and share. Combining crunchy textures with rich chocolate and festive easter egg surprises, this recipe is wonderfully simple yet irresistibly tasty. Whether you’re baking for family, friends, or your own indulgence, these nests bring a playful, seasonal touch that’s perfect for celebrations, gifting, or just brightening up your dessert table.
Why You’ll Love This Recipe
- Quick and Easy: You can whip up these nests in under 30 minutes, making them perfect for last-minute treats.
- Kid-Friendly Fun: Great for involving little helpers in the kitchen with no complicated steps.
- Customizable: Easily adjustable ingredients let you tailor the nests to your taste or dietary preferences.
- Festive Appeal: Perfectly themed for Easter with cute candy eggs tucked inside crunchy chocolate “nests”.
- Sweet and Crunchy: Delights anyone who loves the combo of silky chocolate and crisp textures.
Ingredients You’ll Need
These simple ingredients come together beautifully, each adding a crucial element to your Chocolate Easter Nests. From creamy chocolate for smoothness to crunchy cereal for texture, every component plays its part in creating the perfect festive treat.
- Chocolate: Use good quality milk, dark, or white chocolate, either in chips or bars, to melt smoothly and coat the nests.
- Shredded Wheat or Cereal: Provides the signature crunchy texture and “nest” shape with ease.
- Butter: Adds richness and helps bind the chocolate and cereal together for sturdiness.
- Golden Syrup or Honey: Acts as a natural sweetener and sticky binder for structure and shine.
- Mini Easter Eggs: Candy eggs or chocolate eggs add a festive and colorful finishing touch inside each nest.
Variations for Chocolate Easter Nests
Feel free to tweak this recipe to suit what you have on hand or to match your flavor cravings. Making Chocolate Easter Nests is wonderfully flexible and great fun to experiment with!
- Nutty Nests: Add chopped nuts like almonds or hazelnuts for extra crunch and flavor dimension.
- White Chocolate Version: Swap milk or dark chocolate for white chocolate for a sweeter, creamier nest.
- Gluten-Free Option: Use gluten-free cereal or crushed rice cakes to keep it safe for gluten-sensitive guests.
- Vegan Twist: Use dairy-free chocolate and maple syrup instead of golden syrup to make it plant-based.
- Fruit Additions: Toss in dried cranberries or chopped apricots for a fruity surprise that balances the chocolate.

How to Make Chocolate Easter Nests
Step 1: Prepare Your Workstation
Line a baking sheet with parchment paper or a silicone mat to ensure your nests don’t stick and set aside the mini eggs for later. Having everything ready makes the process smooth and enjoyable.
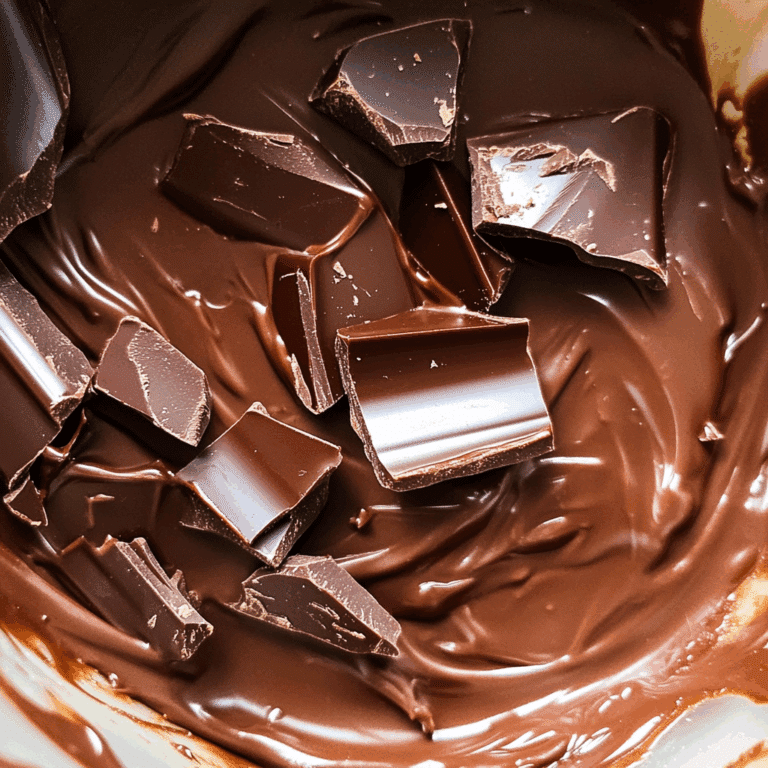
Step 2: Melt the Chocolate and Butter
In a heatproof bowl, gently melt the chocolate and butter together over a pan of simmering water, stirring frequently until smooth. This step is key to achieving that glossy, luscious texture coating your nests.
Step 3: Stir in Golden Syrup and Combine
Mix the golden syrup into the melted chocolate mixture thoroughly to add sweetness and the perfect sticky consistency to hold your nests together.
Step 4: Fold in the Cereal
Carefully add your shredded wheat or preferred cereal, folding gently to coat all pieces evenly without crushing them. This gives you the delightful crunch and nest structure.
Step 5: Shape the Nests
Using a spoon, pile the coated cereal into small round nests on the prepared baking sheet, creating a small well in the center of each for the eggs later.
Step 6: Chill and Decorate
Place the baking sheet in the fridge for about 30 minutes until the nests firm up. Once set, nestle the mini Easter eggs snugly inside each one and — voilà! — a festive Chocolate Easter Nest ready to enjoy.
Pro Tips for Making Chocolate Easter Nests
- Choose Quality Chocolate: Better chocolate melts smoothly and tastes delicious, elevating your nests.
- Don’t Overmix: Gently fold the cereal to keep it crunchy and prevent breaking the delicate texture.
- Make Even Nests: Use a small ice cream scoop or two spoons to shape consistent-sized nests for uniform baking and presentation.
- Room Temperature Eggs: For best appearance, use mini eggs at room temperature to avoid condensation once placed.
- Storage Tip: Store nests in an airtight container to maintain freshness and crispness.
How to Serve Chocolate Easter Nests
Garnishes
Add a sprinkle of edible glitter, colored sugar crystals, or tiny candy flowers for extra festive sparkle that elevates the playful presentation.
Side Dishes
Serve alongside fresh fruit like strawberries or a scoop of vanilla ice cream to balance the richness of the chocolate and add freshness to your dessert plate.
Creative Ways to Present
Arrange the nests in small paper cupcake liners or place them in pastel-colored boxes tied with a ribbon, transforming them into delightful gifts or party favors.
Make Ahead and Storage
Storing Leftovers
Keep leftover Chocolate Easter Nests in an airtight container at room temperature for up to 3 days to maintain freshness without losing crunch.
Freezing
You can freeze the nests by wrapping them individually in parchment paper and placing them in a sealed container for up to a month; thaw at room temperature before serving.
Reheating
These treats are best enjoyed at room temperature, so avoid reheating; simply let frozen nests naturally soften for a perfect bite.
FAQs
Can I use different types of chocolate for these nests?
Absolutely! Milk, dark, white, or even flavored chocolates like caramel or mint work wonderfully in this recipe and allow you to customize the flavor profile.
Are Chocolate Easter Nests suitable for children?
Yes, they are a kid-friendly treat with easy-to-follow steps, and you can even involve children in shaping and decorating the nests.
What can I use if I don’t have golden syrup?
Honey or maple syrup can be used as natural substitutes that provide the sticky quality and sweetness needed to hold the nests together.
Can these nests be made gluten-free?
Definitely! Substitute the shredded wheat or cereal with gluten-free crispy rice cereal or chopped gluten-free pretzels for that crunchy texture.
How long do Chocolate Easter Nests stay fresh?
Stored properly in an airtight container, these nests stay fresh and delicious for up to 3 days at room temperature.
Final Thoughts
Nothing captures the joy of spring and Easter quite like indulging in homemade Chocolate Easter Nests. They’re simple to make, utterly delicious, and a joy to share around. So why wait? Gather your ingredients, dive in, and let these crunchy, chocolatey nests bring a touch of sweetness and festive charm to your celebrations!
Related Posts
- Easy Copycat Little Debbie Valentine’s Day Cakes Recipe
- Irresistible Blackberry Cheesecake Brownies Recipe
- Why Jamaican Sweet Potatoes Are a Must-Try Treat
Chocolate Easter Nests

Delight in these quick and easy Chocolate Easter Nests, a festive spring treat combining crunchy shredded wheat or cereal with rich melted chocolate and mini Easter eggs. Perfect for kids and adults alike, these customizable nests offer a playful, seasonal dessert ideal for celebrations, gifting, or brightening your dessert table.
- Prep Time: 10 minutes
- Cook Time: 10 minutes
- Total Time: 30 minutes
- Yield: 12 nests 1x
- Category: Dessert
- Method: No-Bake
- Cuisine: International
- Diet: Gluten Free (use gluten-free cereal option)
Ingredients
Main Ingredients
- 200g good quality milk, dark, or white chocolate (chips or bars)
- 4 shredded wheat biscuits or 4 cups of your preferred cereal
- 50g butter
- 2 tablespoons golden syrup or honey
- Mini Easter eggs (about 24 pieces)
Instructions
- Prepare Your Workstation: Line a baking sheet with parchment paper or a silicone mat to prevent sticking, and set aside the mini Easter eggs for decoration later.
- Melt the Chocolate and Butter: In a heatproof bowl, gently melt the chocolate and butter together over simmering water, stirring frequently until smooth and glossy.
- Stir in Golden Syrup: Mix the golden syrup or honey thoroughly into the melted chocolate mixture to add sweetness and a sticky consistency to hold the nests together.
- Fold in the Cereal: Gently add the shredded wheat or chosen cereal, folding carefully to coat evenly without crushing the pieces, keeping the crunch intact.
- Shape the Nests: Use a spoon to pile the coated cereal onto the prepared baking sheet, shaping small round nests with a well in the center of each for the mini eggs.
- Chill and Decorate: Refrigerate the baking sheet for about 30 minutes until the nests set firm. Once chilled, nestle the mini Easter eggs into the centers of each nest, completing the festive look.
Notes
- Choose good quality chocolate for a smoother melt and richer taste.
- Fold the cereal gently to preserve the crunchy texture.
- Use spoons or a small ice cream scoop for evenly sized nests.
- Use room temperature mini eggs to avoid condensation and maintain appearance.
- Store finished nests in an airtight container to keep them fresh and crunchy for up to 3 days.
Nutrition
- Serving Size: 1 nest
- Calories: 150
- Sugar: 12g
- Sodium: 30mg
- Fat: 9g
- Saturated Fat: 5g
- Unsaturated Fat: 3g
- Trans Fat: 0g
- Carbohydrates: 18g
- Fiber: 1g
- Protein: 2g
- Cholesterol: 15mg
Keywords: Chocolate Easter Nests, Easter treats, no bake dessert, kid-friendly, festive chocolate, crunchy nests, easy Easter recipe