How to Achieve Perfect Tempered Chocolate Every Time
Master the art of Tempered Chocolate with our easy, step-by-step guide for glossy, smooth, and perfectly set results every time. Whether you’re a passionate home baker or a curious chocolatier, knowing how to temper chocolate properly elevates your desserts and candies with professional-quality shine, crisp snap, and that irresistible melt-in-your-mouth texture. This guide unlocks the secrets to flawless tempered chocolate that will impress friends, family, and even yourself.
Why You’ll Love This Recipe
- Professional Finish: Achieve a stunning glossy shine and crisp snap that looks like it came from a chocolatier’s kitchen.
- Enhanced Flavor: Tempered chocolate melts smoothly, letting you taste the true depth and richness of quality cocoa.
- Versatility: Perfect for dipping, molding, coating, or decorating, tempered chocolate works beautifully in many desserts.
- Longer Shelf Life: Properly tempered chocolate maintains its texture and flavor longer without blooming or dulling.
- Sense of Accomplishment: Mastering this skill adds a prized technique to your culinary toolbox that elevates all your chocolate creations.
Ingredients You’ll Need
The beauty of tempered chocolate lies in its simplicity. You only need high-quality chocolate and a little patience. Each ingredient plays a key role in creating that smooth, shiny finish and perfect texture.
- Quality Chocolate: Use couverture chocolate or chocolate with at least 55% cocoa content for the best tempering results.
- Optional Cocoa Butter: Pure cocoa butter helps control the consistency and improves the chocolate’s sheen and snap.
- Heat Source: A double boiler or microwave-safe bowl for gently melting your chocolate evenly.
- Thermometer: Essential for monitoring temperature and hitting the perfect tempering range.
- Clean Utensils and Bowls: Ensure all tools are dry and clean to prevent chocolate from seizing or blooming.
Variations for Tempered Chocolate
Tempered chocolate is incredibly adaptable, making it easy to customize your recipes based on tastes, dietary needs, or the occasion. Here are some fun ways to tweak your chocolate tempering experience.
- Dark Chocolate: Focus on richer, slightly bitter flavors perfect for sophisticated desserts or chocolate-centric dishes.
- Milk Chocolate: Use for a sweeter and creamier option that pairs wonderfully with nuts and caramel treats.
- White Chocolate: Requires precise temperature control but offers a creamy, smooth backdrop for colorful decorations.
- Vegan Chocolate: Look for dairy-free chocolate options to keep your tempering plant-based and inclusive.
- Flavored Chocolate: Incorporate chocolates with added spices, orange, mint, or chili for creative twists.

How to Make Tempered Chocolate
Step 1: Chop and Prepare the Chocolate
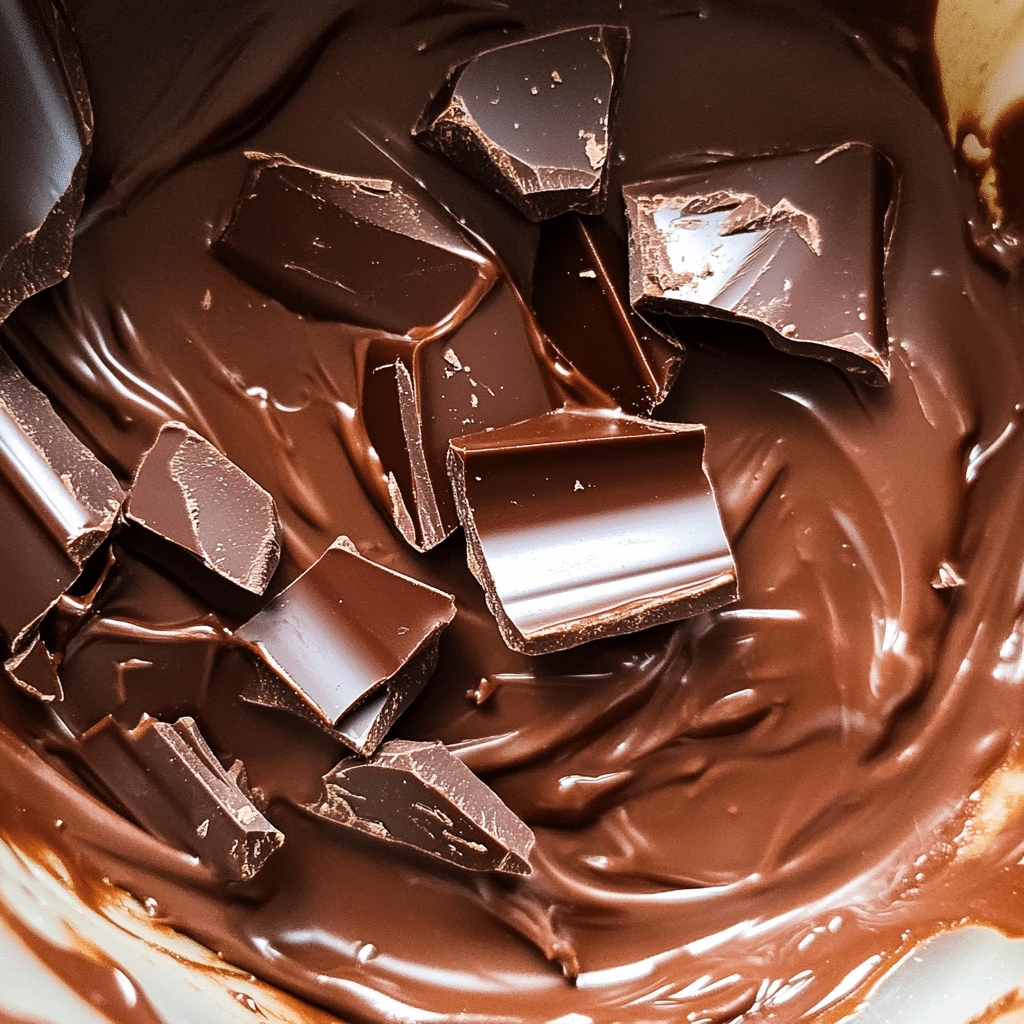
Begin by finely chopping your chocolate into small, uniform pieces to ensure even melting. Keep your working bowls and utensils completely dry and free from any moisture, as water can cause your chocolate to seize.
Step 2: Melt Two-Thirds of the Chocolate
Using a double boiler or microwave, gently melt about two-thirds of your chocolate, stirring constantly. Heat it slowly to prevent burning and reach between 45-50°C (113-122°F) for dark chocolate, or slightly lower for milk and white varieties.
Step 3: Cool the Chocolate
Remove the melted chocolate from heat and gradually add the remaining un-melted chocolate, stirring continuously. This process helps bring down the temperature to around 27-28°C (80-82°F) while initiating crystal formation necessary for a good temper.
Step 4: Reheat Slightly
Gently reheat the chocolate to working temperature—31-32°C (88-90°F) for dark, 29-30°C (84-86°F) for milk, and 28-29°C (82-84°F) for white chocolate—without exceeding it, to ensure a shiny and firm finish.
Step 5: Test the Temper
Spread a small amount of chocolate on parchment paper or the edge of a counter and let it cool. If it hardens evenly with a glossy finish and firm snap, your tempered chocolate is ready to use.
Step 6: Use Immediately
Work quickly with tempered chocolate by dipping, molding, or coating your treats before it cools and sets. Keep the chocolate at working temperature throughout the process.
Pro Tips for Making Tempered Chocolate
- Patience Is Key: Take your time melting and cooling to avoid burning or dulling your chocolate.
- Use a Digital Thermometer: Precise temperature control is critical; invest in a reliable thermometer for consistent results.
- Avoid Water Contact: Even the smallest water droplet can seize your chocolate; keep your workspace dry.
- Work in Small Batches: Temper smaller amounts at a time to maintain temperature control and avoid waste.
- Keep it Moving: Stir frequently during melting and cooling to evenly distribute heat and crystal formation.
How to Serve Tempered Chocolate
Garnishes
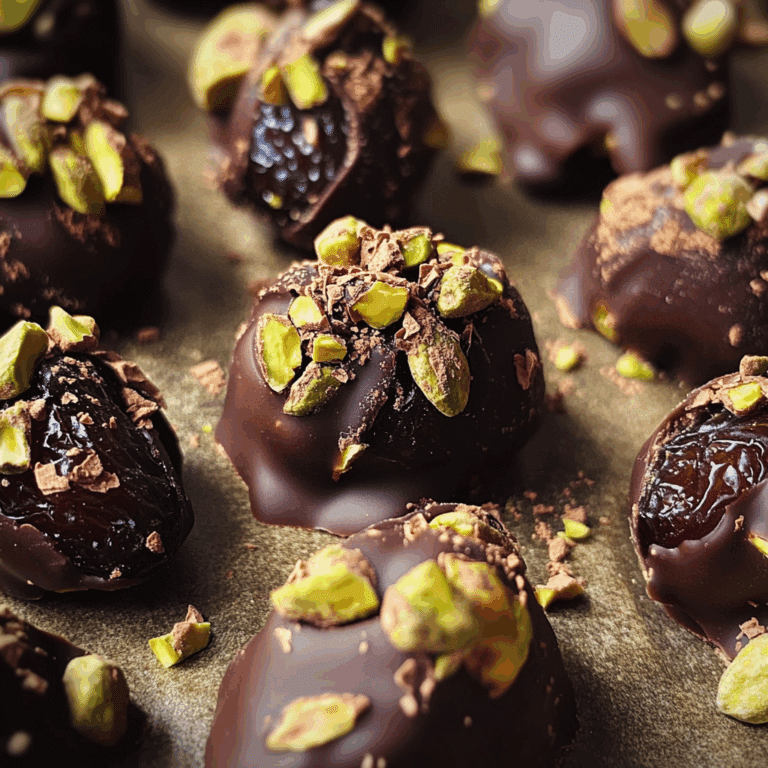
Tempered chocolate pairs beautifully with fresh berries, edible gold leaf, chopped nuts, or a sprinkle of sea salt to add contrasting texture and a hint of color that truly pops.
Side Dishes
Serve your tempered chocolate alongside vanilla bean ice cream, coffee-flavored desserts, or even fresh fruit platters to balance the bittersweet richness.
Creative Ways to Present
Create elegant chocolate shards, dip strawberries or pretzels, mold truffles, or drizzle tempered chocolate over cakes and pastries to elevate the aesthetic and flavor of any dessert table.
Make Ahead and Storage
Storing Leftovers
Store tempered chocolate in a cool, dry place away from direct sunlight in an airtight container to preserve its glossy finish and texture for up to two weeks.
Freezing
Tempered chocolate can be frozen if wrapped tightly in plastic wrap and placed in an airtight container; thaw slowly at room temperature before use to prevent condensation.
Reheating
Carefully reheat tempered chocolate by gently warming in short bursts in the microwave or over a double boiler, stirring constantly to maintain temper without overheating.
FAQs
What is tempered chocolate?
Tempered chocolate is chocolate that has been carefully heated, cooled, and reheated to specific temperatures to create stable cocoa butter crystals, resulting in a shiny, smooth finish and firm snap.
Why is tempering chocolate important?
Tempering ensures the chocolate hardens properly with a glossy appearance, a crisp texture, and prevents fat bloom, which makes the chocolate look dull and soft.
Can I temper chocolate without a thermometer?
While it’s possible, using a thermometer is highly recommended for accuracy, as temperature control is critical to successful tempering.
How long does tempered chocolate stay good?
When stored properly at a cool, dry place, tempered chocolate can stay fresh and maintain quality for several weeks.
What types of chocolate can I temper?
Dark, milk, and white chocolates can all be tempered, though each type requires slightly different temperature ranges for best results.
Final Thoughts
Now that you know how to master tempered chocolate, the possibilities are endless. Whether you want to craft elegant truffles, coat your favorite treats, or add a glossy finish to homemade desserts, this skill will raise your chocolatier game to the next level. Give it a try—you’ll be amazed by the stunning results and the joy of working with perfectly tempered chocolate every time!
Related Posts
- Easy 3-Ingredient Peanut Butter Cookies Recipe
- Why Philly Fluff Cake Is a Must-Try Dessert
- Irresistible Tahini Thumbprints Cookies With Dulce de Leche
Tempered Chocolate
Master the art of tempered chocolate with this easy step-by-step guide to achieve glossy, smooth, and perfectly set chocolate every time. Learn how to temper chocolate like a professional to create desserts and candies with a stunning shine, crisp snap, and melt-in-your-mouth texture.
- Prep Time: 10 minutes
- Cook Time: 15 minutes
- Total Time: 25 minutes
- Yield: Depends on chocolate quantity used
- Category: Desserts
- Method: Tempering
- Cuisine: International
- Diet: Gluten Free
Ingredients
Essential Ingredients
- High-quality couverture chocolate or chocolate with at least 55% cocoa content (quantity as needed)
- Optional: Pure cocoa butter (quantity as needed)
Equipment
- Heat source: double boiler or microwave-safe bowl
- Digital thermometer
- Clean, dry utensils and bowls
Instructions
- Chop and Prepare the Chocolate: Finely chop the chocolate into small, uniform pieces to ensure even melting. Make sure all working bowls and utensils are completely dry to prevent chocolate from seizing.
- Melt Two-Thirds of the Chocolate: Gently melt about two-thirds of the chocolate using a double boiler or microwave, stirring constantly. Heat slowly to avoid burning, reaching 45-50°C (113-122°F) for dark chocolate, or slightly lower for milk and white varieties.
- Cool the Chocolate: Remove from heat and gradually add the remaining un-melted chocolate, stirring continuously. This lowers the temperature to around 27-28°C (80-82°F) and initiates proper crystal formation.
- Reheat Slightly: Gently reheat the chocolate to the working temperature: 31-32°C (88-90°F) for dark, 29-30°C (84-86°F) for milk, and 28-29°C (82-84°F) for white chocolate without exceeding these temperatures to ensure a shiny, firm finish.
- Test the Temper: Spread a small amount on parchment paper or a countertop edge and let it cool. If it hardens evenly with glossy finish and firm snap, the tempered chocolate is ready.
- Use Immediately: Work quickly by dipping, molding, or coating your treats while the chocolate is at working temperature, before it cools and sets.
Notes
- Patience is key: take your time melting and cooling to avoid burning or dulling the chocolate.
- Use a digital thermometer for precise temperature control and consistent results.
- Avoid water contact as even a small droplet can seize the chocolate; keep everything dry.
- Work in small batches to maintain temperature control and avoid waste.
- Stir frequently during melting and cooling to evenly distribute heat and promote proper crystal formation.
Nutrition
- Serving Size: Per 100g
- Calories: 500
- Sugar: 50g
- Sodium: 10mg
- Fat: 30g
- Saturated Fat: 18g
- Unsaturated Fat: 12g
- Trans Fat: 0g
- Carbohydrates: 60g
- Fiber: 5g
- Protein: 7g
- Cholesterol: 0mg
Keywords: tempered chocolate, chocolate tempering, glossy chocolate, chocolate recipe, chocolatier technique, tempered chocolate melting, chocolate coating